


How to set the time delay of a time - delay relay?
Oct 08, 2025
Leave a message
As a professional relay supplier, I often receive inquiries from customers about how to set the time delay of a time-delay relay. In this blog post, I'll share some in-depth knowledge and practical steps to help you understand and set the time delay of these crucial devices.
Understanding Time - Delay Relays
Time-delay relays are electrical components that control the flow of current in a circuit after a pre - determined time interval. They are widely used in various industrial and commercial applications, such as motor control, lighting systems, and HVAC systems. There are two main types of time-delay relays: on-delay and off-delay.
On-delay relays start their timing when power is applied to the coil, and the contacts close after the set time has elapsed. Off-delay relays, on the other hand, maintain the contact position while power is applied to the coil. Once the power is removed, the contacts remain in that position for the set time before changing state.
Factors Affecting Time - Delay Settings
Before setting the time delay of a time-delay relay, it's essential to understand the factors that can influence the accuracy and reliability of the setting.
- Power Supply: The stability of the power supply is crucial. Fluctuations in voltage or frequency can cause variations in the timing accuracy of the relay. It's recommended to use a regulated power supply to ensure consistent performance.
- Ambient Temperature: Temperature can have a significant impact on the operation of a time-delay relay. Most relays are designed to operate within a specific temperature range. Extreme temperatures can cause the internal components to expand or contract, affecting the timing mechanism.
- Load Characteristics: The type and size of the load connected to the relay can also affect the time-delay setting. High - inductive or capacitive loads may cause voltage spikes or surges, which can interfere with the relay's operation.
Setting the Time Delay of a Time - Delay Relay
Step 1: Select the Right Relay
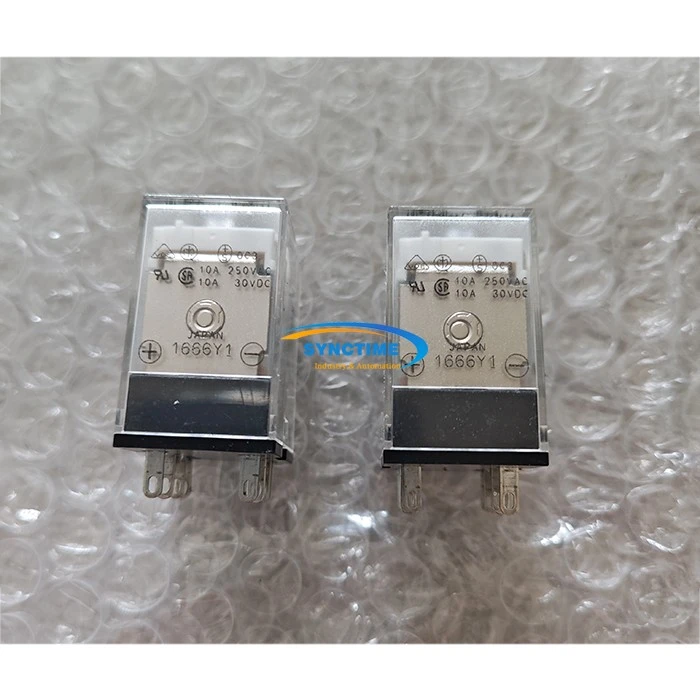
First, you need to choose a time-delay relay that suits your application requirements. Consider factors such as the type of delay (on - delay or off - delay), the range of time delay available, and the electrical specifications of the relay. For example, if you need a reliable power relay, you might consider the MY2N-D2 Power Relay. This relay offers excellent performance and is suitable for a wide range of applications.
Step 2: Read the Manufacturer's Instructions
Each time-delay relay comes with a set of manufacturer's instructions. These instructions provide detailed information on how to install, wire, and set the time delay of the relay. It's crucial to read and follow these instructions carefully to ensure proper operation.
Step 3: Wiring the Relay
Proper wiring is essential for the correct functioning of the time-delay relay. Connect the power supply to the appropriate terminals of the relay according to the wiring diagram provided in the instructions. Make sure to use the correct wire gauge and secure all connections tightly to prevent loose connections, which can cause electrical problems.
Step 4: Setting the Time Delay
The method of setting the time delay varies depending on the type of relay.
- Mechanical Time - Delay Relays: These relays use a mechanical timer mechanism, such as a clockwork or a dashpot. To set the time delay, you typically need to adjust a dial or a screw on the relay. Turn the dial or screw clockwise to increase the time delay and counter - clockwise to decrease it.
- Electronic Time - Delay Relays: Electronic time-delay relays use electronic circuits to control the timing. They often have a digital display and buttons for setting the time delay. Press the appropriate buttons to enter the desired time value. Some electronic relays also allow you to set the time delay in different units, such as seconds, minutes, or hours.
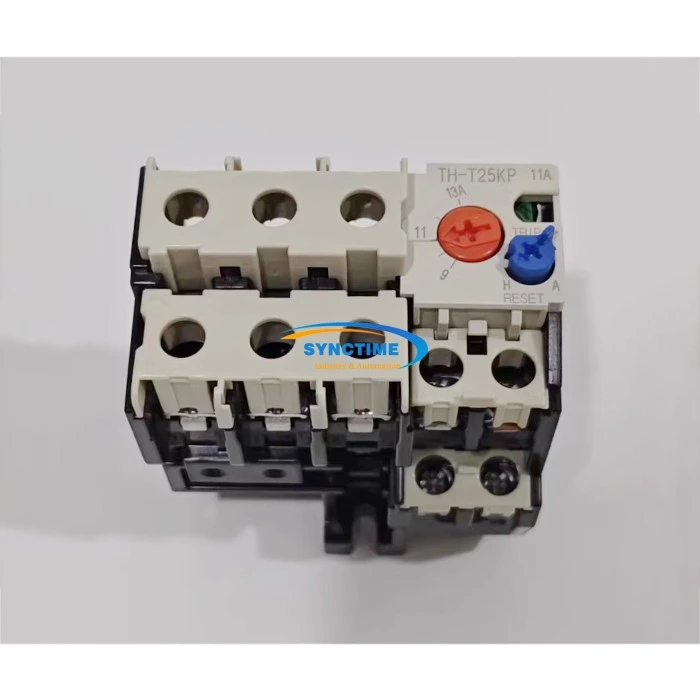
For instance, if you are using the TH-T25KP Relay, you can refer to its user manual for specific instructions on how to set the time delay.
Step 5: Testing the Relay
After setting the time delay, it's important to test the relay to ensure that it is functioning correctly. Apply power to the relay and observe the operation of the contacts. Check if the contacts close or open after the set time has elapsed. If the relay does not operate as expected, double - check the wiring and the time - delay setting.
Additional Considerations
- Using a Base Socket: A base socket can provide a convenient way to mount and connect the relay. For the MY2N - D2 relay, you can use the Base Socket Max.7A250V For MY2N-D2. This base socket is designed to ensure a secure and reliable connection.
- Calibration: Over time, the time - delay setting of a relay may drift due to factors such as component aging or environmental changes. It's recommended to periodically calibrate the relay to maintain its accuracy.
Contact for Purchase and Consultation
If you have any questions about time - delay relays or need assistance in selecting the right relay for your application, feel free to contact us. Our team of experts is always ready to provide you with professional advice and support. Whether you are looking for a single relay or a large - scale order, we can offer you high - quality products at competitive prices.
References
- "Relay Handbook" - A comprehensive guide on relays and their applications.
- Manufacturer's datasheets for MY2N - D2 Power Relay, TH - T25KP Relay, and Base Socket Max.7A250V For MY2N - D2.
Send Inquiry